Driveway and Patio Installation
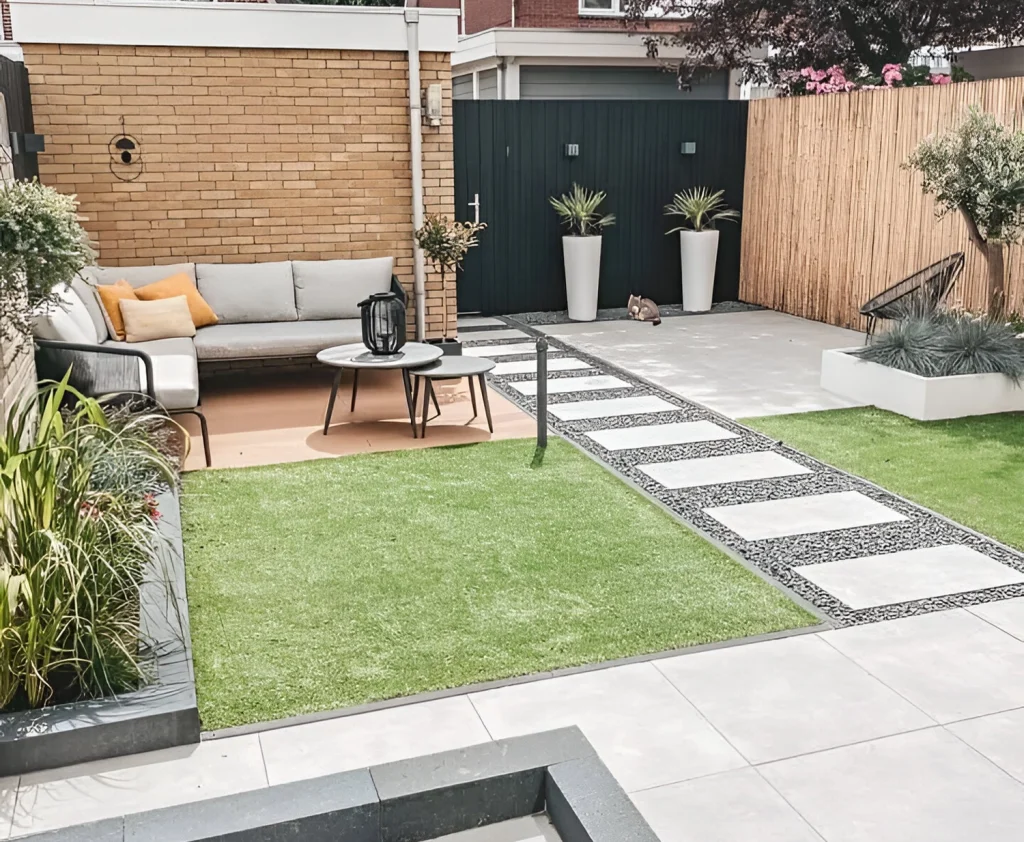
Imagine a perfect spot for your barbecue, a stable patio for summer evenings, or a smooth, welcoming driveway that finally boosts your home’s kerb appeal. A new hardscape is more than just a home improvement project; it’s an upgrade to your lifestyle, creating functional and stylish outdoor living spaces you can be proud of.
But when you start looking into it, the process can feel overwhelming. The most expensive mistake you can make, however, isn’t choosing the wrong colour—it’s ignoring what happens beneath the surface. A project’s longevity is determined not by what you see, but by the hidden foundation built by a professional.
This guide breaks down the entire driveway and patio installation process into three manageable parts: choosing the right materials for your home and budget, understanding what makes a project last for decades, and confidently hiring the right help. Think of this as your practical roadmap to navigating everything from classic looks to modern garden patio designs, so you can avoid common pitfalls and invest in a beautiful, long-lasting surface with complete confidence.
Pavers vs. Concrete vs. Gravel: Picking the Right Material for Your Budget and Style
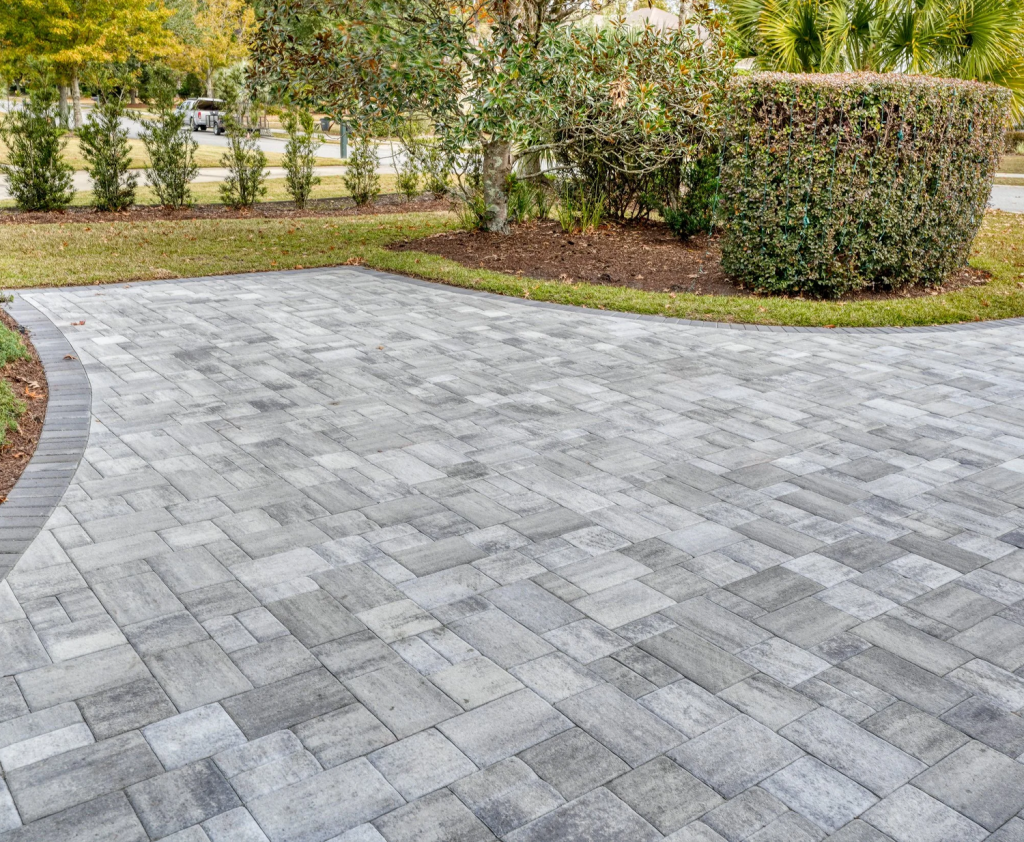
Choosing the right material is the first big decision you’ll make, and it shapes everything from your project’s budget to its final look. While there are endless options, most driveways and patios are built from one of three popular materials: interlocking block paving, poured concrete, or simple gravel. Each has a distinct character and price tag, so let’s break them down to help you find your perfect match.
- Block Paving/Paving Slabs:
- Cost: Higher ($$$)
- Look & Feel: Classic, customisable, and high-end.
- Best For: Patios, paths, and premium driveways where style is a top priority.
- Poured Concrete:
- Cost: Moderate ($$)
- Look & Feel: Clean, modern, and utilitarian. Can be stamped or coloured for more style.
- Best For: Most driveways, simple patios, and anyone prioritising durability and lower cost.
- Gravel:
- Cost: Low ($)
- Look & Feel: Rustic, casual, and informal.
- Best For: Long rural driveways, garden paths, or secondary parking areas.
Your choice often comes down to balancing cost and aesthetics. Block paving offers timeless beauty and is easier to repair—you can just replace a single cracked slab—but it comes with a higher upfront investment. Concrete is the workhorse, providing a durable, smooth surface for less, though cracks can be harder to fix seamlessly. Gravel is the most budget-friendly option by far, perfect for a more relaxed, country feel, but it does require occasional raking and top-ups.
Whichever surface you choose, its long-term success isn’t just about the material you see on top. The real key to a project that lasts is a strong, stable foundation.
What’s Underneath Matters Most: The Secret to a Project That Doesn’t Sink
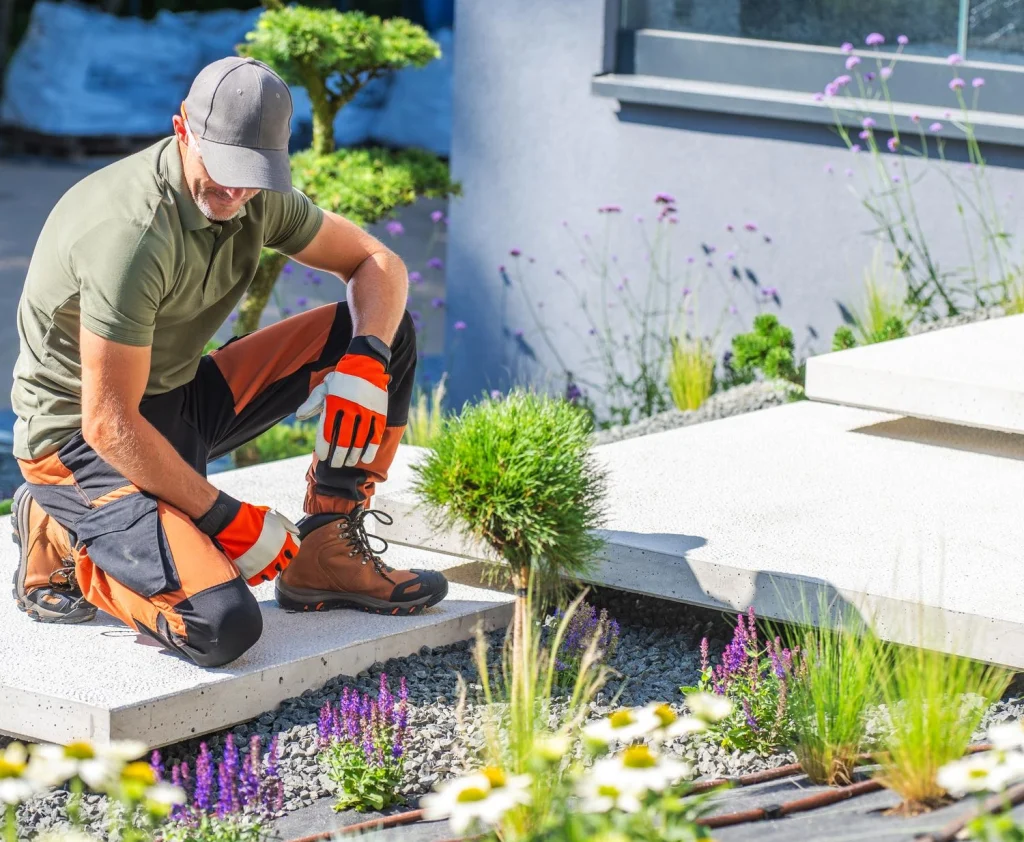
You’ve picked the perfect paving slabs or decided on a sleek concrete finish, but the most critical part of your project is one you’ll never see. This hidden hero is the sub-base, and it’s the rock-solid foundation built beneath your new surface. Think of it like the foundation of your house—if it’s not strong, stable, and built correctly, everything sitting on top of it will eventually have problems.
To create this foundation, a contractor first performs an excavation, digging out several inches of soft topsoil and grass. Then, they lay a deep layer of crushed gravel for the sub-base. This is consolidated through compaction, a process where heavy machinery packs the gravel down until it’s dense and unmoving, removing air pockets that would otherwise lead to settling over time.
A poorly prepared base is the number one reason patios and driveways fail. It’s why you see surfaces that sink, paving that wobbles, or concrete that cracks prematurely. This is also the step where a corner-cutting contractor might try to save time and money, leaving you with a beautiful surface that starts to dip and shift after just a few seasons. If a quote seems suspiciously low, inadequate base preparation is often the reason.
A fantastic-looking patio or driveway that lasts for decades isn’t just about the beautiful material on the surface. It’s about the carefully prepared, invisible structure holding it all up. With a solid base in place, the next step is to make sure water doesn’t become its worst enemy.
How a Gentle Slope Prevents Big Problems: A Simple Guide to Drainage
With a rock-solid base, the next job is to protect it from its biggest threat: water. If water is allowed to pool on or seep under your new surface, it can cause major headaches. In colder climates, trapped water will freeze and expand—a process called the freeze-thaw cycle. This powerful force can easily heave a paved patio upwards or crack a solid concrete slab, undoing all that careful base work.
To combat this, every quality installation includes a plan for effective drainage. The most common method is surprisingly simple: a very gentle, almost unnoticeable slope. A professional will grade the area to ensure water flows away from your home’s foundation and into a safe spot, like your lawn. This isn’t an accident; it’s a crucial design feature that guides rainwater and snowmelt away before they can cause any harm.
This is why one of the most important questions you can ask a contractor is, “What is your plan for drainage?” A confident answer is a great sign. While a proper slope is the standard, some materials offer other benefits, like permeable paving that allows water to drain straight through. This ability to manage water directly impacts the long-term health of your surface.
Why Block Paving Can Be Cheaper in the Long Run
When looking at quotes, you’ll notice that block paving often has a higher upfront cost than a simple concrete slab. While that initial price can be a hurdle, paving has a secret advantage that can make it the more economical choice over the life of your home: repairability.
Imagine a heavy object drops and cracks a stone, or a stubborn oil stain from a car won’t come out. With a paved surface, the fix is straightforward. A professional can carefully lift out the few damaged stones and replace them with new ones. Because the entire surface is made of individual, interlocking pieces, the repair blends in seamlessly.
This is where a common point of confusion comes up with stamped concrete. While beautiful, stamped concrete is still just one large slab that’s been textured to look like individual stones. If that single slab gets a significant crack, the repair is much more noticeable and expensive, often involving patches that never quite match the original colour or texture.
The choice hinges on what you value more: a lower initial investment or easier, less costly repairs down the road. Concrete is incredibly tough and a popular choice for good reason, but to make a fair comparison, it helps to understand the two truths about it: it’s strong, but eventually, it will crack.
The Two Truths About Concrete: It’s Tough, But It Will Crack
That last statement might sound alarming, but it’s a perfectly normal part of owning concrete. A concrete slab is constantly moving in tiny, invisible ways due to changes in temperature and humidity. Over time, this movement can create small, hairline cracks. The goal of a professional installation isn’t to defy physics and prevent this entirely, but to manage it intelligently.
To do this, a good contractor uses control joints. You’ve seen them your whole life—they’re the straight lines cut into pavements and driveways. These are intentionally weakened lines that encourage the concrete to crack in a predictable, straight line where it won’t be seen. Think of it like a perforated line on a piece of paper; it gives the material a clean place to tear instead of creating a jagged, random split across the surface.
Beyond controlling cracks, protecting the surface itself is your next priority. This is where sealing comes in. A quality sealer acts like a protective shield, blocking water, oil, and de-icing salts from penetrating the concrete and weakening it from within. While a DIY guide might cover the process, having your installer apply the first professional-grade coat is the best way to start off on the right foot.
With smart planning like control joints and a protective seal, a concrete surface provides decades of solid service. Understanding these details is crucial, as it arms you with the right knowledge when you start talking to professionals.
5 Essential Questions to Ask Before You Hire a Paving Contractor
Choosing the right professional for your driveway and patio installation can feel overwhelming, especially when you have a stack of quotes with wildly different prices. A lower bid might seem tempting, but it often hides shortcuts in materials or foundational work. To feel confident you’re comparing apples-to-apples, you need to ask questions that go beyond the final price.
Armed with what you now know about proper installation, you can quickly tell a true professional from a risk. Here are five essential questions to ask before you make a decision:
- Can you describe your sub-base preparation process? (A professional will talk about excavation depth, the type of gravel they use, and compaction.)
- What is your plan for drainage on my property? (They should mention creating a specific slope to direct water away from your home’s foundation.)
- Are you fully licenced and insured for this type of work? (The only acceptable answer is a confident “yes,” and they should be able to provide proof.)
- Can you provide a few recent, local references I can speak to? (This shows they have happy customers and stand behind their work.)
- Does this quote include all costs—from excavation to final cleanup—and what does your workmanship warranty cover? (This prevents surprise fees and clarifies how they’ll handle any installation-related issues that pop up.)
A contractor who is proud of their work will welcome these questions and give you clear, detailed answers. If they get defensive or vague, it’s a major red flag. By focusing the conversation on their process and professionalism, you’re not just shopping for a cheap job; you’re investing in long-term quality and peace of mind.
The Finishing Touches That Lock In Quality: Edging, Sand, and Sealing
Once the main surface is laid, a few final steps are what separate a good job from a great one. The first of these is the Edge Restraint. This isn’t just a decorative border; it’s a critical structural component that acts like a belt, holding everything tightly together. Without a sturdy border, the outside paving slabs can slowly shift and spread apart, leading to an unstable edge. There are several driveway edging options, from nearly invisible plastic strips buried alongside the paving to more decorative concrete kerbs.
With the perimeter secured, the next step is to lock all the individual slabs into a single, unified surface. This is done using Jointing Sand. While regular sand can work, most professionals now use polymeric sand—a special blend with a binder that hardens when activated with water. This creates a firm yet flexible joint that powerfully resists weed growth and prevents the sand from washing out in the rain, keeping your paving tight and level.
The final optional step is applying a protective sealer. Think of it like waxing your car; it provides a transparent shield against the elements. For both block paving and concrete, a quality sealer helps prevent stains from oil or spilled drinks and can make the surface easier to clean. It’s worth asking your contractor about sealing, as this final coat can protect your investment and even enhance its colour for years to come.
These finishing touches are far more than just details. The strong edge, the locked-in joints, and the protective seal are precisely what ensure your new driveway or patio withstands traffic, weather, and time.
Your Roadmap to a Perfect Patio or Driveway Is Clear
The world of driveway and patio installation no longer needs to seem like a confusing maze of costs and technical terms. You now have a roadmap to manage the project confidently.
A successful outcome boils down to a few key decisions. It’s about choosing the right material for your home, insisting on a solid foundation because you know quality lies beneath the surface, and finding a professional you trust by asking the right questions. Your vision of beautiful outdoor living spaces—the perfect spot for summer barbecues or a welcoming new driveway—is no longer just a dream. It’s an achievable plan. You have the knowledge to invest in a project that will bring you joy and value for years to come. You’ve got this.